Description
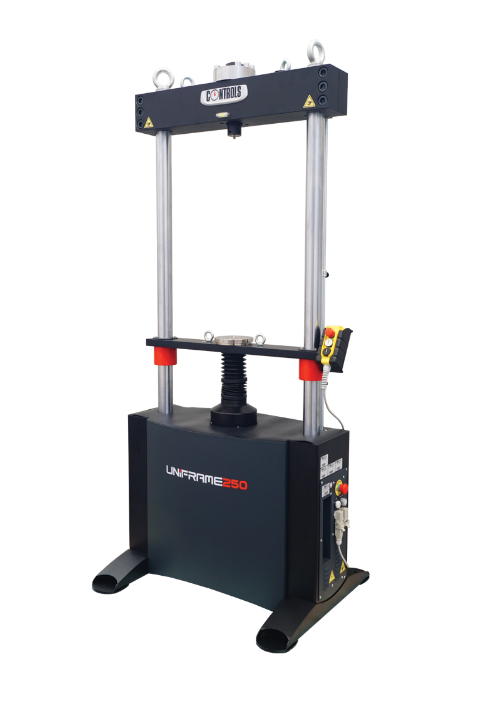
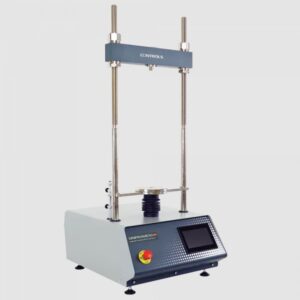
The machine consists essentially of a robust two column high stiffness frame (200 kN/mm) with an upper crosshead, which is factory-preset at your desired height, and of a lower mobile bi-directional crosshead adjustable by the user using the dedicated push buttton or via the PC software.
The machine features an advanced closed loop PID control system assuring very fast reaction time and extremely accurate test control, particularly important for critical tests, such as those on FRC and FRP specimens. The stress is measured by a load cell incorporated in the upper crosshead and the displacement by a high-resolution encoder with 0.1 micron resolution.
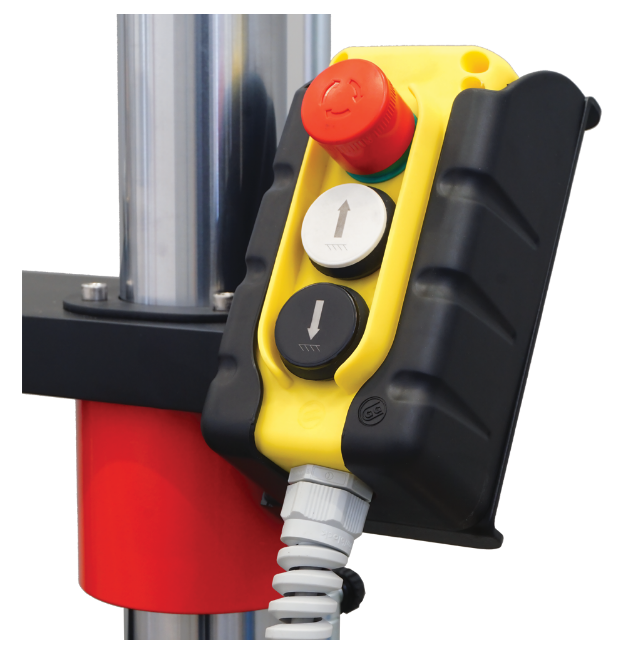
The machine is fitted with two limit switches working at upper and lower full travel and two additional limit switches adjustable by the client in the desired position, according to the specific accessory in use. A remote push-button is used to quickly position the lower crosshead.
The machine is supplied complete with:
- High specs all-in-one PC
- Load cell 250 kN cap. Up to three other cells of lower capacity for tests on low strength materials can be connected (for not simoultaneous use)
- Adapters to connect main accessories
- DATAMANAGER Software for compression and flexural tests
Technical Specifications
| Maximum load in compression | 250 kN |
| Maximum load in tension | 150 kN |
| Max. vertical clearance, without accessories | 930 mm |
| Distance between columns | 650 mm |
| Crosshead travel | 400 mm |
| Crosshead displacement resolution | 0.0001 mm |
| Test speed range | 0.0001 to 175 (105 at full load) mm/min |
| Load rate range | 1 to 9999 N/sec |
| Power | 1 kW |
| Overall dimensions (hxlxd) | 2100 x 960 x 800 mm |
| Weight approx. | 600 kg |
Hardware:
131.000 points effective resolution
High frequency closed-loop P.I.D. control
Control frequency 500 Hz
Sampling rate 500 Hz
4 channels for load cells (not simoultaneously)
6 channels to measure displacement values with transducers (LVDT, magnetostrictive, potentiometric)
4 channels for strain measurement with strain gauges
High resolution encoder (0.0001 mm)
Memorization of the calibration curve enables sensors to be connected and used immediately
Digital linearization of the calibration curve (multi-coefficient)
Software:
DATAMANAGER software (a high specs PC is included) allows remote control of the whole system and the automatic execution of test including: fast approaching, zeroing, test execution, automatic test interruption after specimen failure or achievement of the target set by the user, numerical and graphical management of test results. Software modules are available for any test method, see accessories.
Ordering Information
| 70-T2502 | Automatic 250 kN electromechanical UTM machine designed to perform the following tests:
|
Accessories:
| 70-T2502/G1 | Grips for round specimens 7 to 14 mm dia. |
| 70-T2502/G3 | Grips for flat specimens 0 to 8 mm. |
| 70-T2502/G4 | Grips for flat specimens 8 to 15 mm. |
| 70-T2502/H | Upper and lower tensile heads to be completed with grips for round and flat specimens 70-T2502/GX. |
| 70-T2502/2 | Spherical seat and compression platens dia. 165mm |
| 70-T2502/FL | Lower crossbeam for flexure test (rollers not included). Max span between rollers 650mm |
| 70-T2502/EM | E-MODULE software package for Elastic modulus and Poisson ratio determination. |
| 70-T2502/DC | D-Control software package for energy absorption, displacement/strain controlled tests. |
| 70-T2502/UTS | UTS software package for rebars tensile testing. |
| 70-T2502/CMU | ROAD PC software package suitable for Marshall, CBR, Indirect Tensile, SCB, Duriez and Custom tests. |
| 50-C0050/CAL | Special factory calibration of load digital readout unit assuring Grade A from 1% of testing machine full scale (maximum load) |


